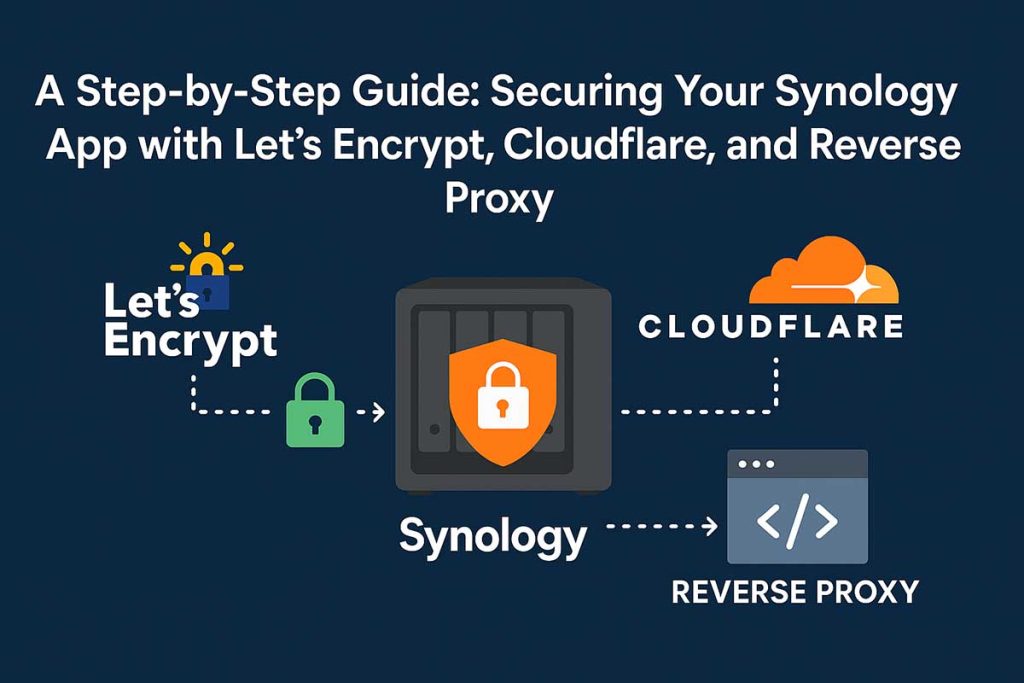
Have you ever wondered how to make your self-hosted applications on a Synology NAS securely accessible from the internet, without getting the dreaded “Not Secure” message? If you want to run apps like n8n, Node-RED, or Jellyfin and have a secure connection, you’re in the right place.
This guide will walk you, step by step, through the process of configuring a free SSL certificate from Let’s Encrypt, using Cloudflare and your Synology’s Reverse Proxy feature.
Why this method?
- Security: You will be using an HTTPS connection, which is essential for protecting data.
- Flexibility: You can run multiple applications on a single NAS, each with its own subdomain (e.g.,
n8n.yourdomain.com,media.yourdomain.com). - Simplicity: We will bypass common obstacles related to ports and firewalls.
What You’ll Need:
- A Synology NAS with DSM (DiskStation Manager) installed.
- An application running in a Docker container on the Synology (we’ll use n8n as an example).
- A domain name (e.g.,
yourdomain.com) whose DNS is managed by Cloudflare. - A basic understanding of how to use the terminal (SSH).
Step 1: Preparing Your Synology Environment
First, you need to ensure your Synology is properly configured.
- Enable Terminal & SSH: Go to Control Panel > Terminal & SNMP and check “Enable SSH service”.
- Configure Port Forwarding: In your router, forward the standard ports 80 and 443 to your Synology’s local IP address. Note: This is a critical step for domain validation and secure traffic.
Step 2: Installing the acme.sh Client
Why We Use SSH Instead of the Synology GUI
A common question for beginners is why we need to use the command line at all. The simple answer is that the Synology GUI, while user-friendly, has limitations when it comes to SSL certificates.
The built-in Let’s Encrypt tool in the Synology GUI relies on a method that requires ports 80 and 443 to be open and functional for validation. For many users, these ports are either blocked by their ISP or cannot be used because they are needed for other services. This often leads to validation failures.
Our solution bypasses this limitation entirely. By using SSH, we gain direct access to the Synology’s underlying Linux system. This allows us to run a more advanced tool called acme.sh. This tool uses a different validation method—the Cloudflare DNS API. Instead of using ports 80 and 443, acme.sh talks directly to Cloudflare’s servers to prove that you own the domain.
In short, SSH gives us the power to use a more flexible and reliable method to get a valid SSL certificate, especially when the standard GUI approach fails.
Synology doesn’t natively support DNS validation for Let’s Encrypt certificates, so we will use acme.sh, a powerful script that simplifies the process.
- Connect to your Synology via SSH (using a client like PuTTY or the terminal on Mac/Linux).
- Run the installation command:Bash
curl https://get.acme.sh | sh -s -- --forceIf you encounter any errors, try running the command without--forceand follow the instructions, then re-run with--forceif necessary.
Step 3: Creating a Cloudflare API Token
acme.sh needs your permission to add the DNS record required for validation. We will create a special API token for this, which is much more secure than using the Global API Key.
- Log in to your Cloudflare account.
- Go to “My Profile” > “API Tokens” and click “Create Token”.
- Choose “Create Custom Token” and configure it as follows:
- Token name:
acme.sh-synology(or a name of your choice). - Permissions:
Zone>DNS>Edit. - Zone Resources:
Include>Specific zone> Select your main domain (e.g.,yourdomain.com).
- Token name:
- Finally, Cloudflare will display your token. Copy it immediately and save it in a secure location. You will never see it again.
Step 4: Generating and Downloading the SSL Certificate
Now that you have everything you need, let’s generate the certificate.
- In your SSH terminal, navigate to the
acme.shdirectory:Bashcd /var/services/homes/your_username/.acme.sh - Export the token and email address to the environment (replace the values with yours):Bash
export CF_Key="your_cloudflare_token" export CF_Email="[email protected]" - Generate the certificate:Bash
./acme.sh --issue -d n8n.yourdomain.com --dns dns_cf - If everything goes well, you will receive a success message, and the certificate files will be saved on your NAS.
Step 5: Importing and Configuring the Certificate in Synology
Synology does not automatically “see” the certificate, so you need to import it manually.
- Download the files: Using an SFTP client (WinSCP, FileZilla), connect to your Synology and download the
fullchain.cerandn8n.yourdomain.com.keyfiles from the~/.acme.sh/n8n.yourdomain.com_ecc/directory. - Import in DSM: Go to Control Panel > Security > Certificate. Click “Add” > “Import Certificate” and upload the downloaded files.
- Associate the certificate: Go to the “Configure” tab and, next to the
n8n.yourdomain.comservice, select the certificate you just imported from the dropdown menu.
Step 6: Configuring the Reverse Proxy
This step will redirect traffic from port 443 to your application’s internal port.
- Go to Control Panel > Login Portal > Reverse Proxy and click “Create”.
- Configuration:
- Source:
HTTPS| Hostname:n8n.yourdomain.com| Port:443. - Destination:
HTTP| Hostname:localhost| Port:5678(or the port your Docker app is running on).
- Source:
- Check the “Enable HSTS” option for enhanced security.
Step 7: Final Verification and Testing
Now, open a browser and navigate to https://n8n.yourdomain.com. You should see the green padlock and a valid certificate!
You have successfully configured a secure connection for your Docker application using a robust and reliable method. Congratulations!
