Connecting to UniFi VPN with Windows
To use the VPN connection on Windows you don’t need to install any clients. We can use the built-in VPN client. The steps below are the same on Windows 10 and 11.
- Open Start and type VPN and select VPN Settings
- Click Add VPN
- Select Windows (built-in) as VPN provider
- Enter a connection name, it can be anything you like
- Enter the public IP Address of your UniFi Console

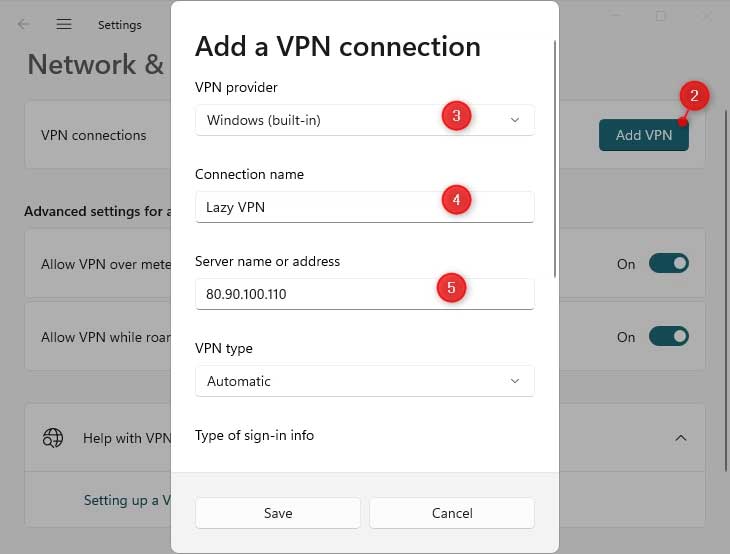
- VPN Type > Select L2TP/IPSec with pre-shared key
- Enter the pre-shared key that we have set earlier in the UniFi Console
- Fill in the username and password that we created.

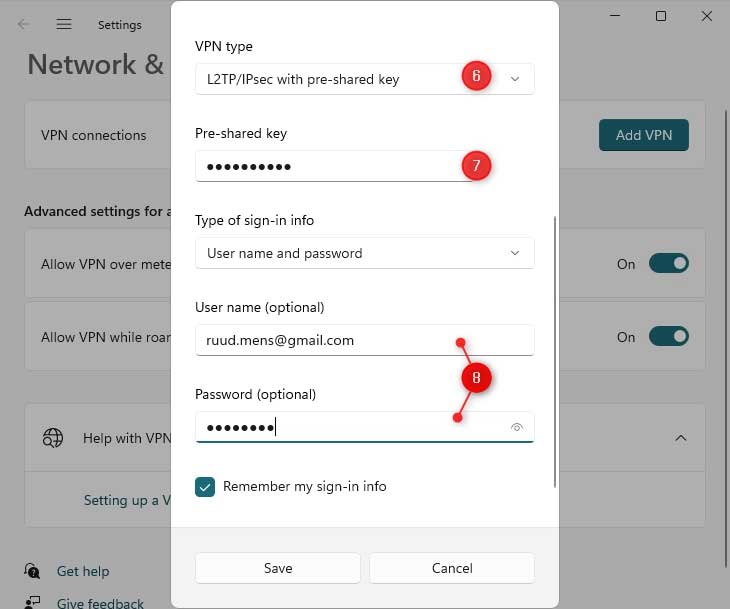
- Save the settings
- Next, we need to change the VPN Network adapter, to enable MS Chap v2.
Press Windows key + R and type ncpa.cpl <enter> - You will now see your VPN network adapter.
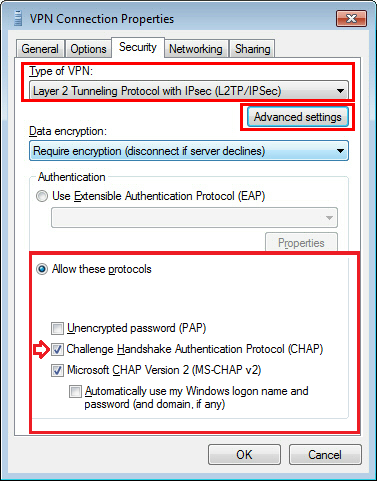
Right-click on your adapter and select Properties - On the Security tab:
select Allow these protocols and enable Microsoft CHAP Version 2

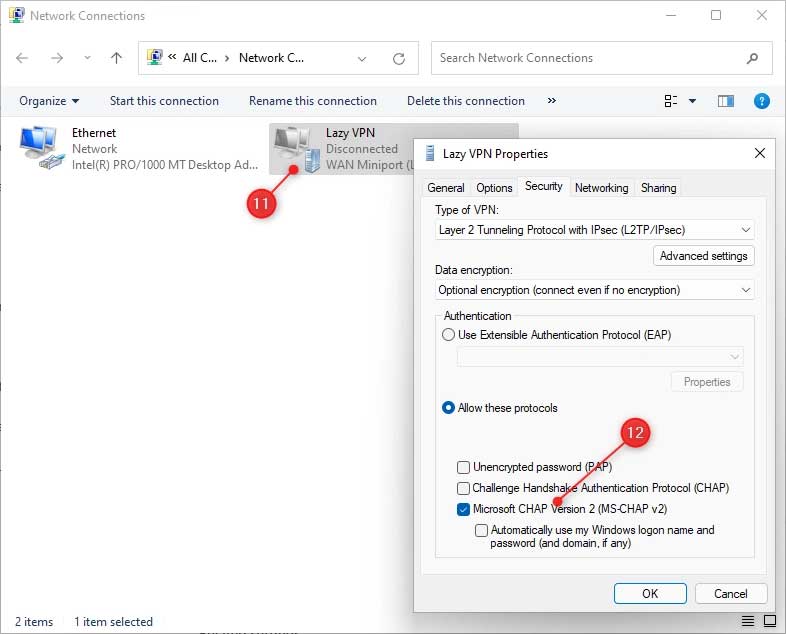
- Click Ok to save the settings.
- You can now click on Connect to test the VPN Connection. It should immediately connect to your UniFi VPN server.
I was finally able to resolve the matter after making an edit in the registry and then rebooting.
Run the following from an elevated command prompt (make sure you run it as administrator):
REG ADD HKLM\SYSTEM\CurrentControlSet\Services\PolicyAgent /v AssumeUDPEncapsulationContextOnSendRule /t REG_DWORD /d 0x2 /fAlso, make sure, the following conditions are met:

Reboot Windows and you are good to go!
It also works great on Windows 11!
Enjoy!

